Entryway Bench Installation Guide for a Seamless Fit
Choosing the right entryway bench can transform the look and feel of your Maryland home, but getting it installed correctly is where the true value lies. Custom benches offer more than extra seating—they help organize your space while reinforcing a welcoming aesthetic. From measuring for a perfect fit to securing the finished piece, this guide walks you through every stage of the process so your new bench will look great and function reliably for years to come. For a smooth start, the first focus is a thorough assessment of the installation area.
Table of Contents
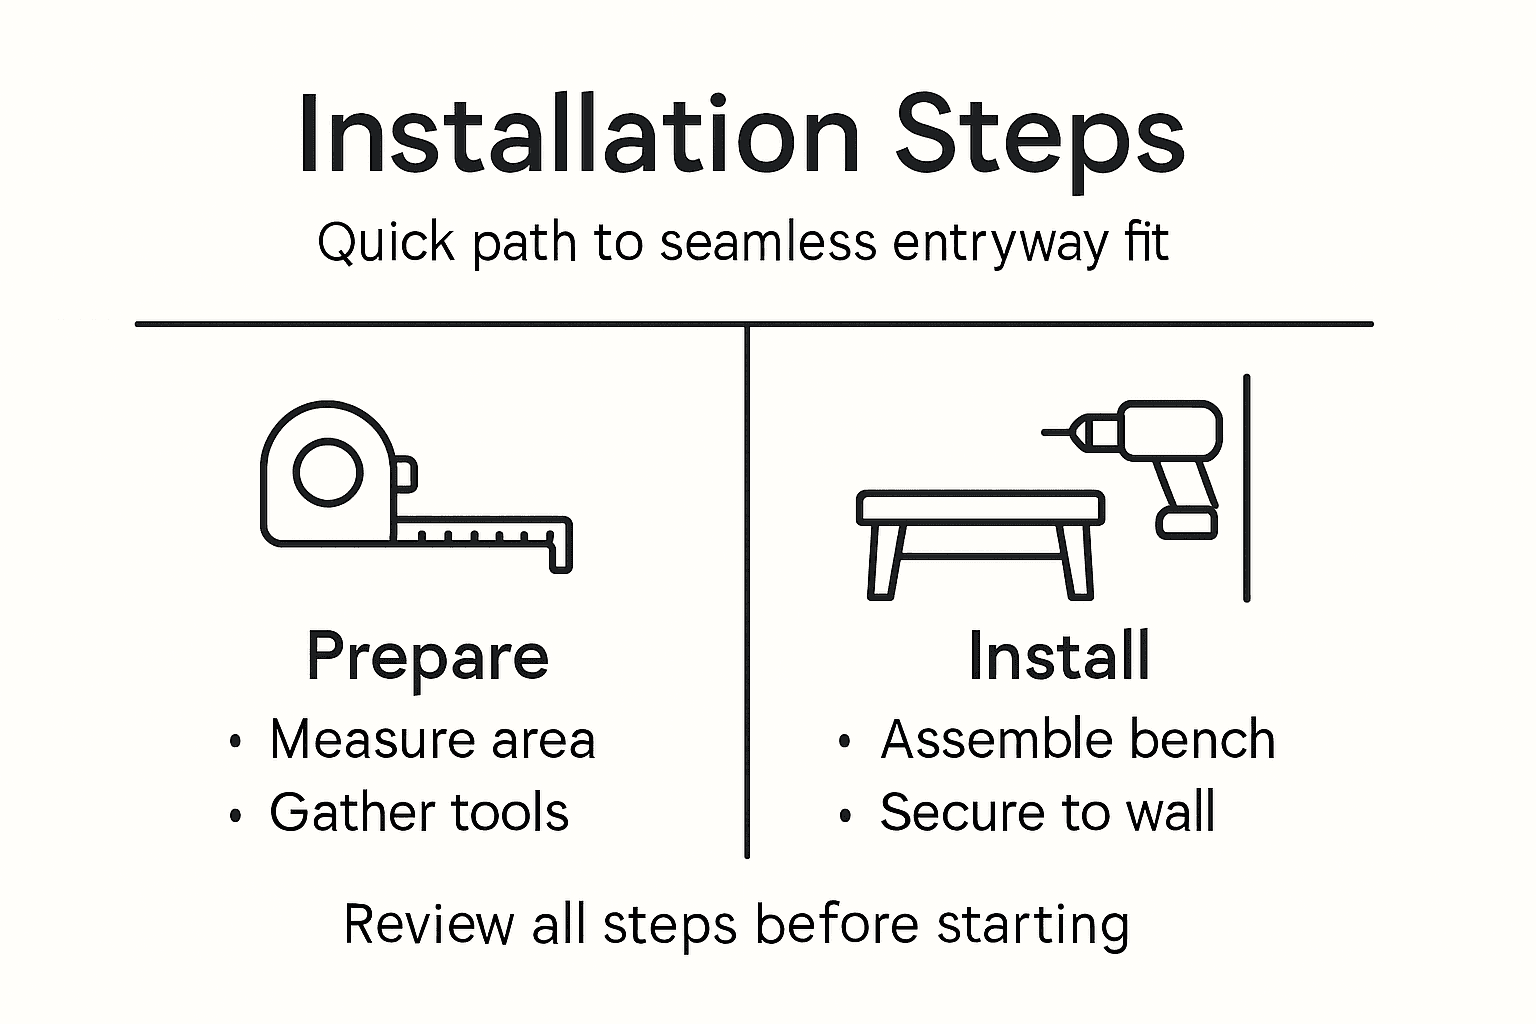
- Step 1: Assess The Installation Area
- Step 2: Gather Tools And Materials
- Step 3: Assemble The Entryway Bench
- Step 4: Secure The Bench To The Wall
- Step 5: Verify Stability And Make Finishing Touches
Quick Summary
| Key Point | Explanation |
|---|---|
| 1. Measure the Installation Area | Accurately assess width, depth, height, and clearance to ensure proper fit and functionality of the entryway bench. |
| 2. Gather All Necessary Tools | Prepare tools and materials like a power drill and wood components to avoid interruptions during the installation process. |
| 3. Assemble the Bench Carefully | Organize components and follow proper assembly steps for a stable and durable entryway bench. |
| 4. Secure the Bench to the Wall | Use wall studs for anchoring the bench, ensuring safety and stability to prevent tipping hazards. |
| 5. Perform a Final Stability Check | Test the bench for wobbling and ensure tight connections, making any necessary adjustments for a polished finish. |
Step 1: Assess the Installation Area
Before diving into your entryway bench project, you’ll need to carefully evaluate the designated installation area to ensure a seamless and functional fit. This crucial first step determines the success of your entire bench installation.
Start by measuring the space where you plan to install the bench. Entryway systems require precise measurements that meet specific dimensional requirements. Here are the key factors to consider:
- Measure the total width, depth, and height of the installation area
- Confirm a minimum clearance of 10 feet in the direction of travel
- Check floor surface type and structural integrity
- Evaluate potential obstacles like doors, radiators, or electrical outlets
Precise measurements prevent installation headaches and ensure your bench fits perfectly.
Carefully assess the traffic flow and spatial constraints to guarantee the bench doesn’t impede movement. Placement requires thoughtful consideration of access points and potential obstructions. Take detailed notes and photographs to reference during the installation process.
Here is a summary of common entryway bench obstacles and recommended solutions:
| Obstacle Type | Impact on Installation | Practical Solution |
|---|---|---|
| Radiators | Limits bench placement | Use shorter bench or relocate |
| Doors | May block access or movement | Adjust bench size or location |
| Electrical Outlets | Reduces wall mounting options | Re-route wiring or re-position |
| Uneven Flooring | Causes instability | Add leveling feet or shims |
Pro tip: Use painter’s tape to outline the bench dimensions on the floor, helping you visualize the space and potential fit before purchasing or installing.
Step 2: Gather Tools and Materials
Before you begin your entryway bench installation, collecting all necessary tools and materials will set you up for a smooth and efficient project. Having everything prepared in advance prevents frustrating interruptions and ensures a professional-looking result.
Safety guidelines recommend specific tools and equipment for furniture installation. Here’s a comprehensive list of what you’ll need:
- Power drill with various drill bit sizes
- Measuring tape
- Level
- Stud finder
- Screwdriver set (Phillips and flathead)
- Safety goggles
- Work gloves
- Pencil for marking
- Carpenter’s square
Proper preparation prevents poor performance - have all tools ready before starting.
Your materials will depend on your specific bench design, but recommended components include mounting hardware and wood components. Make sure you have:
- Wood panels or bench components
- Wall anchors appropriate for your wall type
- Screws and fasteners
- Wood finish or paint (if desired)
- Sandpaper
Arrange your tools and materials in a clean, organized workspace before beginning the installation. This approach minimizes potential errors and helps you work efficiently.
Pro tip: Lay out all tools and materials on a drop cloth or clean surface, and double-check that you have everything before starting your installation.
This table highlights the purposes of key tools used during installation:
| Tool | Primary Use | Why It Matters |
|---|---|---|
| Power drill | Fastening hardware | Ensures strong connections |
| Level | Checking horizontal alignment | Prevents slanted benches |
| Stud finder | Locating wall studs | Maximizes mounting security |
| Carpenter’s square | Verifying right angles | Improves structural fit |
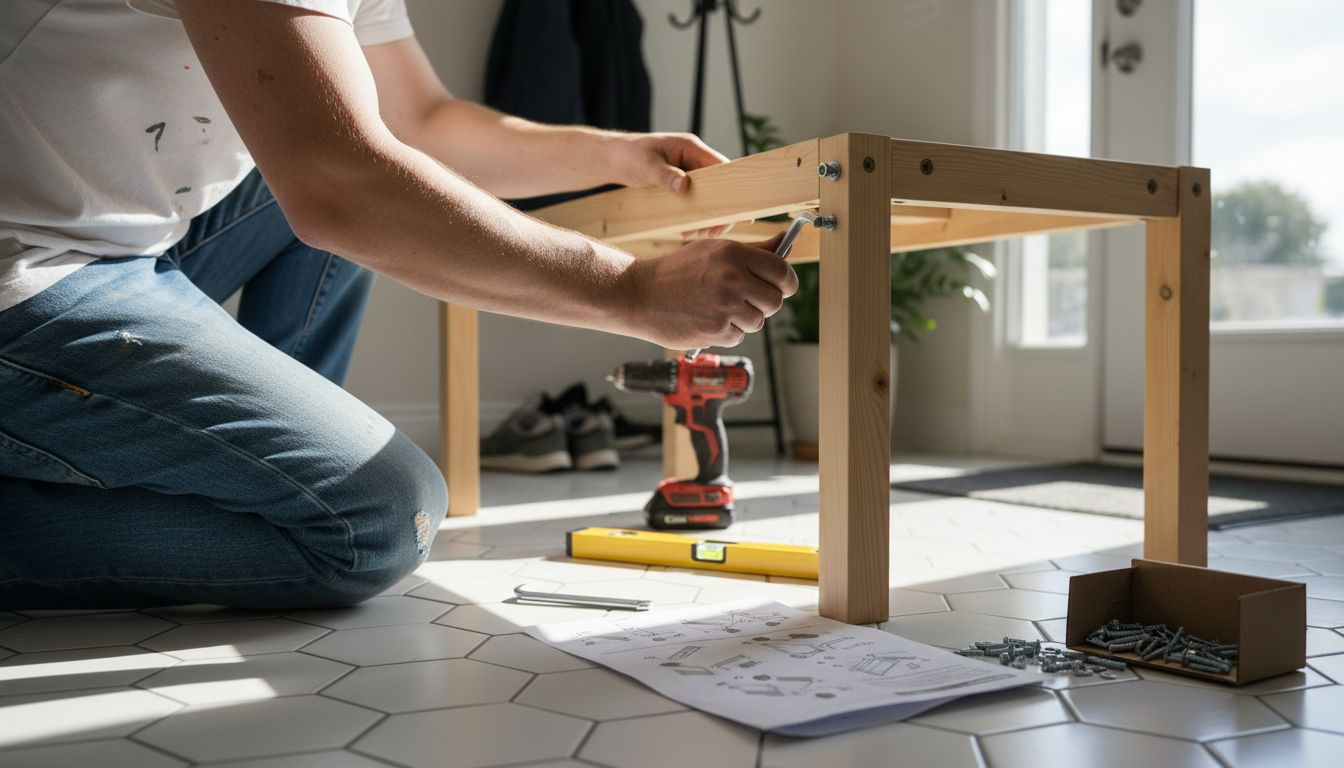
Step 3: Assemble the Entryway Bench
Now that you’ve gathered your tools and materials, it’s time to transform those components into a functional and stylish entryway bench. Careful assembly ensures a sturdy and reliable finished product.
Begin by organizing all bench components and laying them out systematically. This helps you visualize the assembly process and ensures nothing is missing. Your typical assembly will involve these key steps:
- Connect the base frame securely
- Attach support structures or legs
- Install the seating top
- Add any custom features like storage compartments
Precision in assembly determines the bench’s overall stability and longevity.
Proper reinforcement is crucial during bench construction. Pay special attention to these critical connection points:
- Tighten all screws completely
- Use wood glue on critical joints
- Check that legs are perfectly level
- Reinforce corner connections
- Ensure no wobbling or shifting
After assembling the basic structure, take time to sand any rough edges and prepare the surface for your chosen finish. This attention to detail will elevate your bench from a simple piece of furniture to a professional-looking addition to your entryway.
Pro tip: Work on a clean, flat surface and periodically test the bench’s stability during assembly to catch and correct any alignment issues early.
Step 4: Secure the Bench to the Wall
With your entryway bench assembled, the next critical step is permanently anchoring it to the wall. Proper wall mounting prevents potential safety hazards and ensures your bench remains stable and secure.
Begin by using a stud finder to locate wall studs. Wall studs provide the most reliable anchoring point for your bench. Here’s a systematic approach:
- Scan the wall with the stud finder
- Mark precise stud locations with a pencil
- Verify stud positions with a second pass
- Clean the marked areas
Securing furniture to structural wall elements dramatically reduces tipping risks.
Earthquake safety guidelines recommend thorough furniture anchoring. Consider these critical installation tips:
- Use heavy-duty brackets designed for wall mounting
- Select screws appropriate to your wall type
- Pre-drill holes to prevent wall damage
- Check bench level after initial mounting
- Apply consistent pressure when tightening
Carefully align your bench brackets with the wall studs, ensuring a tight and secure connection. Double-check all connections and test the bench’s stability before considering the installation complete.
Pro tip: Keep your drill at a 90-degree angle when installing wall anchors to prevent crooked or misaligned mounting points.
Step 5: Verify Stability and Make Finishing Touches
With the bench installed, it’s time to ensure your entryway bench is perfectly secure and professionally finished. Final inspection is crucial for safety and aesthetic quality.
Start by performing a comprehensive stability test. Apply gentle pressure from different angles to check for any unexpected movement or wobbling. Here’s your stability verification checklist:
- Push bench from multiple sides
- Check for consistent contact with wall
- Test weight-bearing capacity
- Ensure no creaking or shifting
A well-installed bench provides both functionality and peace of mind.
Finish carpentry standards recommend thorough final inspection. Consider these finishing touches:
- Sand any rough wood edges
- Apply wood stain or protective finish
- Check and tighten all mounting hardware
- Inspect for potential sharp edges
- Add cushions or decorative elements
Pay special attention to the bench’s overall appearance and structural integrity. A meticulous final review ensures your entryway bench is not just functional, but also a beautiful addition to your home.
Pro tip: Use a small level during final inspection to confirm the bench remains perfectly horizontal after all installation steps.
Achieve a Perfect Entryway Bench Fit with Expert Craftsmanship
Installing an entryway bench that fits flawlessly and enhances your space can be more challenging than it seems. From assessing clearances and securing stable wall anchors to fine-tuning alignment and finishes, the process requires precision and experience. If you want to overcome common hurdles like uneven floors, tight spaces, or complex wall mounting, Furniture Design Group offers personalized solutions crafted to meet your exact needs. With over 20 years of expertise in creating custom entryway furniture, including mud lockers and benches designed to fit your home perfectly, we take the guesswork out of installation.

Ready to transform your entryway with a beautifully tailored bench built for both style and stability? Explore our collection at Furniture Design Group and discover how quality materials and artisanal construction can make your project seamless. Contact us today to schedule a consultation or visit our Maryland showroom where craftsmanship meets personalized service. Don’t wait to experience an entryway that welcomes you with elegance and functionality.
Frequently Asked Questions
How do I measure my space for an entryway bench installation?
Measuring your space requires evaluating the width, depth, and height of the installation area. Use a measuring tape to gather precise dimensions, ensuring a minimum clearance of 10 feet in the direction of travel.
What tools do I need for installing an entryway bench?
You’ll need a power drill, measuring tape, level, stud finder, and a screwdriver set, among others. Gather all tools before starting to streamline the process and reduce interruptions during installation.
How can I ensure my bench is stable after installation?
To verify stability, push the bench from different angles to check for movement or wobbling. Ensure all screws are tight and that the bench is securely anchored to the wall; consider a stability test where you check weight-bearing capacity.
What should I do if I encounter obstacles when installing my bench?
Evaluate any obstacles such as doors, radiators, or electrical outlets and adjust your bench design or placement accordingly. Consider using shorter bench components or relocating the bench to ensure no obstructions impede functionality.
How do I apply the finishing touches to my entryway bench?
After installation, sand any rough edges and apply a wood finish or protective coating. Ensure all mounting hardware is tightened properly, and inspect for sharp edges to enhance both appearance and safety.