How to measure your entryway for a custom furniture fit
TL;DR:
- Proper measurement is essential to ensure your custom entryway furniture fits perfectly, avoiding costly mistakes. Gather tools like a tape measure, notepad, painter’s tape, and camera, then document obstacles, door swings, and clearance space through sketches and photos. Carefully verify all dimensions and pathways before finalizing your design to prevent delivery and installation issues in Maryland’s unique home layouts.
Picture this: you spend weeks selecting a custom mud locker or entryway bench, work with a craftsman to finalize the design, and then watch the delivery crew struggle because the piece is two inches too wide for your hallway or blocks the light switch you use every single day. It’s a frustrating and expensive lesson that Maryland homeowners learn the hard way more often than you’d think. Regional home styles, from older colonial row houses in Baltimore to newer construction in Montgomery County, each bring their own quirks: irregular wall angles, recessed doorways, and baseboards that jut out further than expected. This guide walks you through every measurement you need so your custom entryway furniture fits the first time, every time.
Table of Contents
- What you’ll need before you measure
- Step-by-step: Measuring your entryway for custom furniture
- Special considerations: Doorways, obstacles, and the furniture path
- Double-checking your work: Avoiding common mistakes
- The expert’s take: Entryway measuring mistakes even pros see
- Ready to design your perfect entryway?
- Frequently asked questions
Key Takeaways
| Point | Details |
|---|---|
| Measure for fit and flow | Proper entryway measurement involves not just the space itself but how furniture will fit and function within it. |
| Account for all obstacles | Always measure and note fixed features and door swing so furniture does not block access or movement. |
| Use diagonal depth for tight entries | Bulky or long pieces may need to fit through at an angle, so use diagonal depth calculations for accuracy. |
| Verify with tape or sketch | Before you buy, mark out the furniture’s footprint to experience the layout firsthand and spot potential issues. |
What you’ll need before you measure
Once you know why precise measurement matters, gather everything you’ll need for the job. Showing up to measure with just a mental note and a rough eyeball estimate is how mistakes happen. The good news is that everything you need is probably already in your home.
Essential tools and materials:
- Steel tape measure (at least 25 feet long, with a locking mechanism)
- Notepad and pencil (pencil lets you erase and revise as you go)
- Painter’s tape (for marking furniture footprints on the floor without damaging surfaces)
- Smartphone or camera (for reference photos of every wall, corner, and obstacle)
- Straightedge or level (to check if walls and floors are truly plumb)
Here’s a quick overview of how each item pulls its weight:
| Tool | Primary use |
|---|---|
| Steel tape measure | Getting precise width, depth, and height readings |
| Notepad and pencil | Recording measurements and sketching your layout |
| Painter’s tape | Marking furniture footprint on the floor before ordering |
| Smartphone camera | Creating a visual record of every surface and obstacle |
| Straightedge or level | Confirming walls are flat and floors are even |
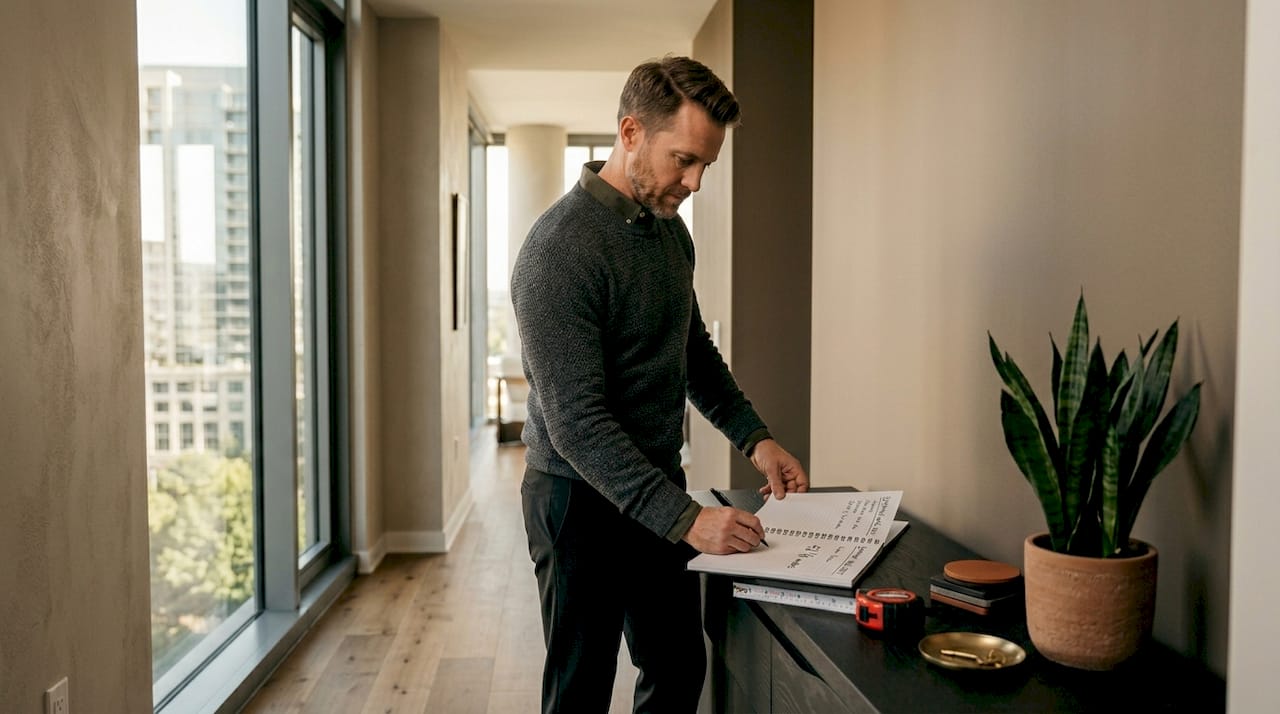
A clear floor plan sketch or photo is just as important as the tools themselves. Before you take a single measurement, walk the entire entryway and photograph every wall from corner to corner. Capture outlets, switches, vents, baseboards, and anything else that sticks out. Older Maryland homes often have baseboard heaters, and these are easy to forget until a finished piece is sitting right in front of one.
Pro Tip: Take photos at knee level, not just eye level. Low obstacles like floor registers, baseboard heaters, and cable runs are invisible in standard photos but will absolutely interfere with furniture placement. A smart home organization tip that professionals swear by is to keep a printed photo of the entryway with handwritten measurements taped right to the photo for quick reference during the design process.
A practical method when planning creating custom furniture masterpieces is to sketch the layout first and then tape out the furniture footprint on the floor to validate the feel and clearance before ever placing the order. This simple preview step saves more headaches than almost anything else in the process.
Step-by-step: Measuring your entryway for custom furniture
With your measuring kit ready, here’s how to approach the task step by step. Rushing this phase is the number one reason custom pieces end up in the wrong space, so work through each step with care and patience.
Step 1: Measure overall entry dimensions
Measure the width of the entryway wall where the furniture will sit. Then measure the depth of the space from that wall out toward the center of the room. Finally, measure floor to ceiling height. Write all three down immediately. Do not trust your memory.
Step 2: Identify and measure all fixed obstacles
Walk the space slowly and note every obstacle attached to the walls or floor. This means electrical outlets, light switches, wall vents, floor registers, baseboards, radiators, and any built-in features. Measure and note fixed obstacles inside the entryway, including outlets, switches, vents, and baseboards, because they can limit where furniture can be placed and how it can function. Record the height of each obstacle from the floor and its horizontal distance from the nearest wall corner.
Step 3: Diagram and measure the door swing
This step trips up even careful planners. Open your entry door fully and watch exactly where the arc sweeps. Mark the outermost point of the door’s arc with painter’s tape on the floor. Account for door swing and clearance so furniture does not collide with the entry door’s arc when it opens. Any furniture placed within that arc zone will be hit every single time the door opens.
Step 4: Determine your furniture zone and walking clearance
After marking the door swing, the remaining space is your true furniture zone. Within that zone, figure out how deep your piece can realistically be without creating a bottleneck. Prioritize leaving adequate walking and working clearance in front of the piece. Most design professionals recommend 30 to 36 inches of clear pathway in front of any entry furniture. Most console tables run 12 to 15 inches deep, which typically works well in standard entryways, but mud lockers and storage benches can be considerably deeper.
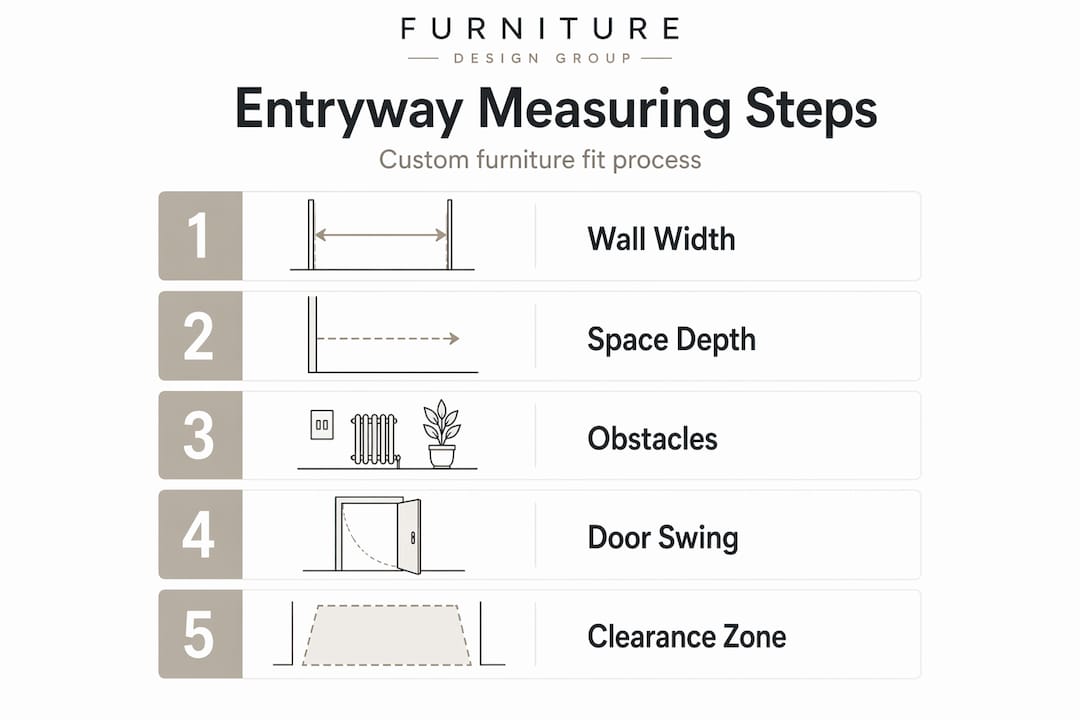
Step 5: Sketch your plan and tape the footprint
Draw a simple bird’s-eye diagram of the entryway on your notepad. Include the wall lengths, the door swing arc, obstacle locations, and your planned furniture zone. Then use painter’s tape to mark that exact rectangle on the floor. Walk through it. Open the door. Grab your keys. Simulate a real morning rush and see how the space feels. This is the most underused step in the entire process, and it costs nothing.
Safety warning: Never place furniture in a way that blocks air vents, baseboard heaters, radiators, or electrical outlets. Beyond the design inconvenience, blocking heating vents can create fire hazards and reduce your HVAC efficiency significantly, especially in Maryland’s cold winters. Always leave at least 6 to 12 inches of clearance around heat sources.
Once you’re comfortable with the sketched layout and taped footprint, you’re ready to move into the design conversation with your furniture maker. At that point, our custom furniture services process at Furniture Design Group takes your exact measurements and builds a piece sized to fit your specific space rather than a generic retail standard.
Special considerations: Doorways, obstacles, and the furniture path
After your basic measurements are complete, consider what could prevent your new furniture from making it through the door or hallway. This is a detail that catches people completely off guard because they measure the destination perfectly but forget about the journey.
Why the narrowest point is what actually matters
A piece can fit perfectly in your entryway but still be impossible to deliver if there’s a tight turn in the hallway outside, a low ceiling at the staircase landing, or a narrow exterior door frame. The narrowest point on the path controls everything. Measure every doorway, hallway, and turn between the delivery truck and the final placement spot.
Common overlooked obstacles along the delivery path:
- Interior door frames (the actual clear opening, not the decorative trim)
- Stair railings and newel posts
- Door handles that protrude into the hallway
- Hallway width at its narrowest section
- Ceiling height at stair landings
- Overhead light fixtures in tight corridors
How to calculate diagonal depth for large pieces
Large furniture pieces like tall mud lockers cannot be carried perfectly upright through a standard door. They need to be tilted diagonally to pass through. Include diagonal depth when checking whether a bulky furniture piece can pass through a tight doorway at an angle. To find diagonal depth, use the Pythagorean formula: the diagonal equals the square root of (height squared plus depth squared). If that number exceeds your doorway’s clear height, the piece will not fit without disassembly.
Pro Tip: Before your piece is built, do a dry run with a large cardboard box cut to match the exact dimensions of your planned furniture. Have a helper assist you in carrying it through every doorway and turn on the delivery path. You’ll immediately discover any tight spots that measurements alone might not reveal. This is something the team at custom furniture design encourages clients to do, and it consistently saves delivery day surprises.
Regular versus tricky pathways:
| Pathway type | Characteristics | What to do |
|---|---|---|
| Standard clear path | Wide hallway, no turns, clear height | Measure width and height; standard delivery works |
| Narrow hallway | Less than 36 inches wide | Measure diagonal depth; consider modular design |
| Tight corner or turn | 90-degree turn in hallway | Simulate with cardboard mockup before ordering |
| Staircase delivery | Stairs, landings, railings | Measure every segment including landing ceiling height |
Your entryway is often the very first thing guests see when they visit, and it shapes their entire impression of your home. The details of fit and placement matter not just functionally but visually too, as making a first impression in your home entry sets the tone for every room that follows.
Double-checking your work: Avoiding common mistakes
Now that you’ve measured and mapped out your entryway and path, a careful double-check can prevent expensive mistakes. Custom furniture is not returnable once it’s built to your specifications, so this final review is worth every minute you invest in it.
Cross-check your measurements in this order:
- Re-measure all wall widths and depths independently on a second visit, ideally the next day when you’re fresh
- Verify that your taped footprint still feels right after sleeping on the design decision
- Confirm obstacle locations match your diagram by comparing against your reference photos
- Walk the full delivery path again with fresh eyes, paying special attention to ceiling heights at stair landings
- Revisit the door swing test and check that the furniture zone stays completely outside the arc at every point
Top mistakes that cause problems at installation:
- Ignoring door swing and placing furniture in its direct arc
- Forgetting fixed obstacles like outlets and vents until the piece is already built
- Failing to verify walking clearance, especially in narrower Maryland row house entries
- Not measuring the delivery path from the exterior door all the way to the final spot
- Measuring only at one height and missing a baseboard or register that sits lower
Pro Tip: After you’ve taped out your furniture footprint on the floor, ask another family member or friend who wasn’t involved in the planning to walk through the space. Fresh eyes catch things you’ve already mentally worked around. They’ll immediately tell you if the pathway feels cramped or if the taped zone feels too close to the door.
The expert resource on measuring rooms for furniture consistently reinforces one central idea: for any custom entryway furniture project, the winning formula is to measure not just the clear width and height of the wall space, but every fixed obstruction and clearance point, and then physically sanity-check the flow by taping the footprint and walking the space multiple times before committing.
The expert’s take: Entryway measuring mistakes even pros see
With the technical know-how covered, here’s what professionals notice that most guides won’t tell you. After 20 years of building and installing custom entryway furniture across Maryland, the mistakes we see most often are not about missed measurements on the wall. They’re about forgotten context.
The most common mistake? Homeowners measure the entryway wall perfectly, confirm the furniture will fill the space beautifully, and never once think about getting it into the house. In practice, “will it fit” depends less on the entryway’s overall dimensions and more on the narrowest point along the maneuvering path, including door swing arcs and diagonal depth for bulky pieces. We’ve had situations in older Baltimore row houses where the entry wall was wide enough for a generous mud locker, but the exterior door frame was so narrow and the entry hallway so short that getting the piece through required careful disassembly and reassembly on site.
Another thing that surprises homeowners: Maryland’s older colonial homes often have non-standard wall angles. A wall that looks perfectly flat in a photo can have a slight bow or an irregular corner that shaves off a critical half inch. We always tell clients to measure at three points along the wall: top, middle, and bottom. If those measurements differ, the smallest one is the one that counts.
The contrarian advice we’d offer is this: stop thinking “does it fit in the space” and start thinking “can it travel through everything between the street and the space.” That shift in mindset, combined with the sketch, tape, and walk-through method described in this guide, is what separates a seamless install from a delivery day nightmare.
If you want a second set of expert eyes on your measurements before ordering, our custom furniture advice sessions are exactly that kind of early-stage checkpoint. Getting it right before the wood is cut is always easier, and less costly, than getting it right after.
Ready to design your perfect entryway?
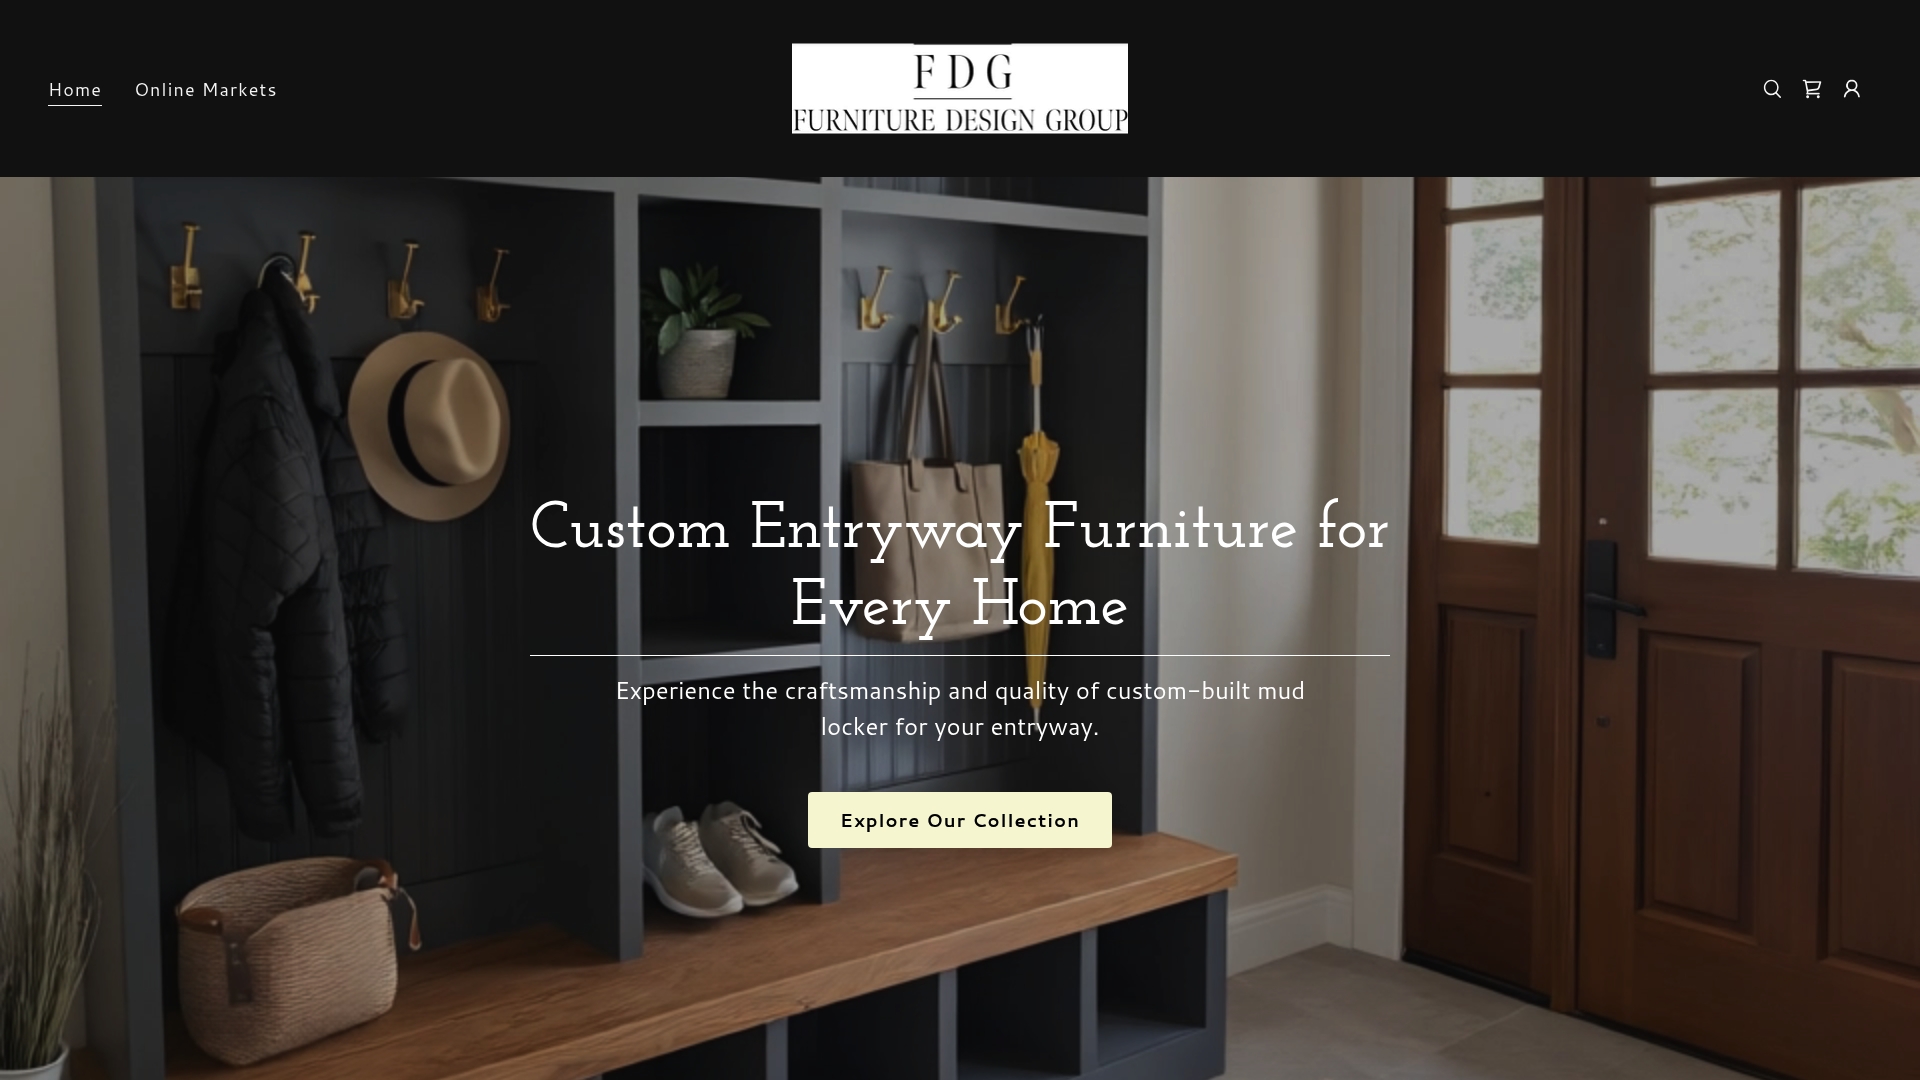
If you’re ready to move from measuring to making your vision real, here’s how we can help. At Furniture Design Group, we’ve been turning precise measurements into beautiful, functional entryway furniture for Maryland homeowners for over 20 years. Every piece we build starts with your exact numbers, not a standard retail template.
Once you have your measurements in hand, our team walks you through the full design process from material selection to finish choices. Browse our custom furniture gallery for design ideas that might spark your vision, or reach out directly to start a conversation about your project. Our custom furniture services are built around your space, your style, and your life. The right measurements are the foundation. We’ll handle everything that comes after.
Frequently asked questions
What is the minimum clearance recommended in front of entryway furniture?
Leave at least 30 to 36 inches of clear pathway in front of entryway furniture for comfortable, unobstructed movement through the space.
How do I check if a large bench or cabinet will fit through my doorway?
Calculate the furniture’s diagonal depth using the Pythagorean formula and compare it to your doorway’s clear height, since large pieces must be tilted diagonally to pass through tight openings.
Should I measure baseboards and outlets when planning entry furniture?
Yes, always record the location and height of baseboards, outlets, and vents because these fixed features directly impact where your furniture can sit and how it can function safely.
What’s the best way to preview how the furniture will actually fit?
Use painter’s tape to mark the footprint on your floor and physically walk around it, open the door, and simulate daily use before placing your custom order.