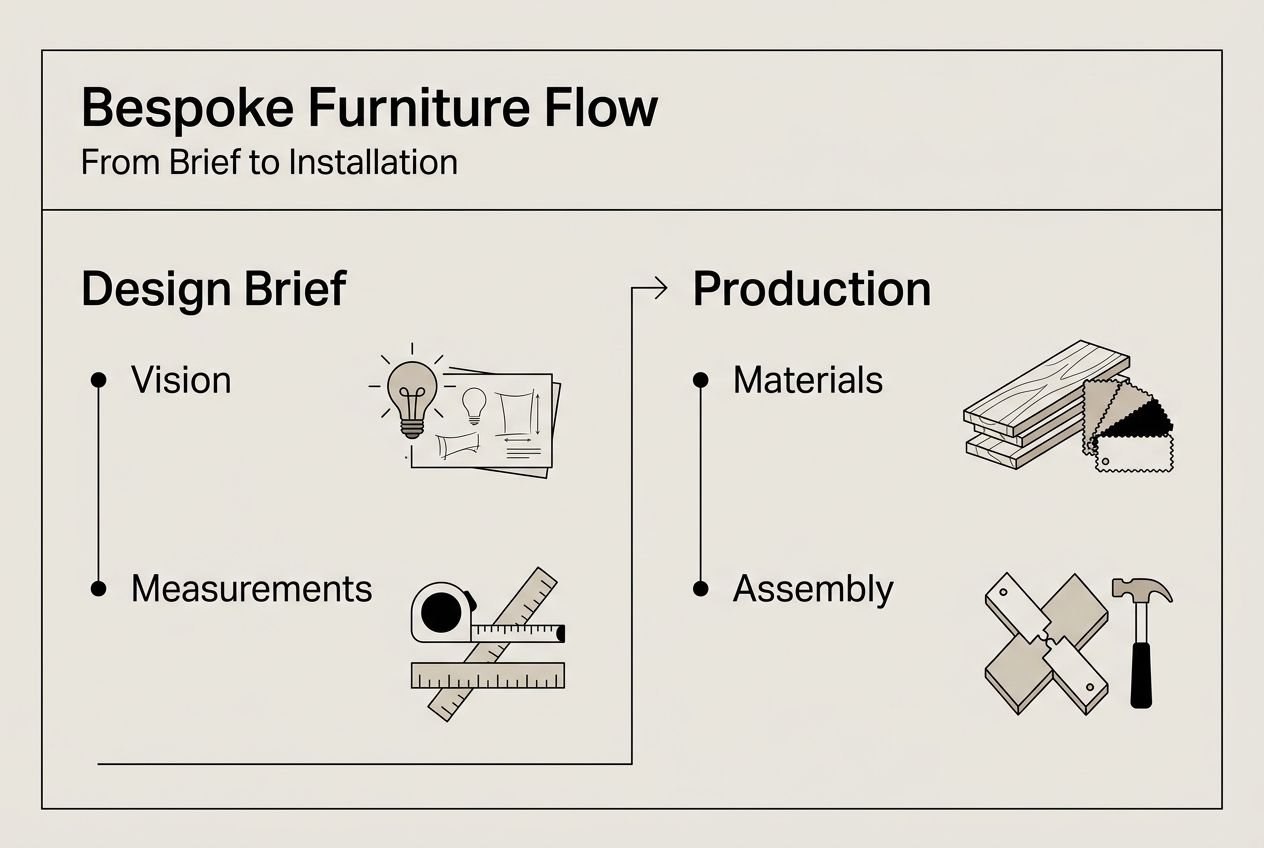
Master the bespoke furniture workflow in 2026
Commissioning custom entryway furniture can feel overwhelming. Between unclear timelines, communication gaps, and worries about quality, homeowners and interior designers often hesitate. Understanding the bespoke furniture workflow transforms this anxiety into confidence. This guide walks you through every stage, from initial brief to final installation, revealing how proper preparation and informed collaboration ensure your custom piece exceeds expectations. You’ll discover practical insights into design visualization, material selection, craftsmanship standards, and finishing techniques that guarantee satisfaction.
Table of Contents
- Understanding Your Needs: Preparing The Initial Brief
- Visualizing The Design: Concept And 3D Renderings
- Materials And Craftsmanship: Ensuring Quality And Durability
- Finishing Touches And Installation: Curing And Quality Assurance
- Why Choose Furniture Design Group For Your Bespoke Entryway Furniture?
- Frequently Asked Questions
Key takeaways
| Point | Details |
|---|---|
| Timeline expectations | Most bespoke furniture projects require 3 to 6 months from initial consultation to installation. |
| Design visualization | Concept drawings and 3D renderings help you refine your vision before construction begins. |
| Material preparation | Wood acclimatization prevents warping and cracking in Maryland’s variable humidity levels. |
| Finishing quality | Controlled curing environments ensure protective finishes achieve maximum durability and beauty. |
| Collaborative process | Active client involvement during brief and design phases produces the best outcomes. |
Understanding your needs: preparing the initial brief
Your project’s success hinges on a thorough initial brief. This document captures your vision, functional requirements, and practical constraints before any design work begins. The initial brief aligns client and maker vision by establishing clear expectations from day one.
A comprehensive brief includes precise measurements of your entryway space, preferred wood species and finishes, storage needs, and budget parameters. Document how many family members will use the furniture daily, whether you need shoe storage or coat hooks, and any architectural features that influence design. Interior designers should bring floor plans, photos of the space, and examples of complementary furniture styles.
Collaboration between homeowners and designers during this phase prevents costly revisions later. Schedule an in-person consultation at your home so the craftsman can assess lighting, traffic flow, and existing architectural details. Discuss timeline expectations honestly, accounting for material sourcing and your move-in date if you’re building or renovating.
Pro Tip: Create a digital folder with inspiration images, noting specific elements you like rather than expecting exact replicas. This gives craftsmen creative direction while allowing their expertise to shine.
Document every decision in writing. Note agreed-upon dimensions, material choices, hardware preferences, and delivery dates. This written record prevents scope creep and misunderstandings as the project progresses. Review the brief together before moving to the design phase, ensuring everyone shares the same vision.
Timeline discussions matter immensely. Custom furniture cannot be rushed without compromising quality. Understanding that bespoke furniture workflow typically spans several months helps you plan accordingly and avoid last-minute stress.
Visualizing the design: concept and 3D renderings
Once your brief is complete, the design phase transforms words into visuals. Concept drawings and 3D renderings visualize furniture in your intended space, revealing how proportions, colors, and details work together before any wood is cut.
Concept drawings typically arrive first, showing multiple design options in sketch form. These hand-drawn or digital illustrations capture the overall form, proportions, and key features. They’re quick to produce and easy to modify, making them perfect for exploring different directions. Review these sketches carefully, considering how each option fits your entryway’s architecture and daily use patterns.
3D renderings follow once you’ve selected a concept direction. These photorealistic images place your custom furniture in a digital replica of your space, showing exact dimensions, wood grain patterns, and how natural light interacts with finishes. For Maryland homeowners, seeing how morning sunlight through east-facing windows highlights wood tones proves invaluable.

| Visualization Type | Advantages | Limitations |
|---|---|---|
| Concept Drawings | Quick to produce, easy to modify, explores multiple directions | Less detailed, harder to visualize final appearance |
| 3D Renderings | Photorealistic, shows exact proportions, reveals lighting effects | Takes longer to create, modifications require more time |
Most craftsmen include two to three revision cycles in their design phase. Use these strategically. First revisions typically adjust proportions or storage configurations. Second revisions fine-tune details like hardware placement or decorative elements. Save final revisions for minor tweaks rather than major redesigns.
Pro Tip: View 3D renderings on a large screen in your actual entryway at different times of day. This reveals how changing light conditions affect wood tones and helps you choose the perfect finish.
The design phase usually takes three to four weeks, depending on complexity and revision rounds. Respond to design presentations promptly to keep your project on schedule. Ask questions about construction methods, joinery techniques, and how design choices impact durability. Understanding the bespoke furniture workflow at this stage prevents surprises later.
Communicate honestly about what you love and what concerns you. Experienced craftsmen appreciate specific feedback over vague reactions. Instead of saying a design feels off, explain that the proportions seem too heavy for your narrow entryway or the storage cubbies appear too small for winter boots.
Materials and craftsmanship: ensuring quality and durability
After finalizing your design, attention shifts to materials and construction. Quality bespoke furniture begins with proper material selection and preparation, especially in Maryland’s humid climate where temperature swings challenge wood stability.
Material acclimatization prevents warping by allowing wood to adjust to local humidity levels before construction begins. Craftsmen store lumber in their workshop for two to four weeks, letting moisture content stabilize. This seemingly simple step prevents the heartbreak of drawers that stick in summer or gaps that appear in winter.
Wood species selection impacts both aesthetics and performance. Hard maple offers exceptional durability for high-traffic entryways, resisting dents from dropped bags and kicked-off shoes. White oak provides beautiful grain patterns and natural rot resistance, perfect for homes near the Chesapeake Bay. Cherry darkens beautifully over time, developing a rich patina that grows more attractive with age.
Craftsmanship quality reveals itself in joinery techniques. Dovetail joints in drawer construction indicate serious attention to durability, as these interlocking cuts create mechanical strength without relying solely on glue. Mortise and tenon joints in frame construction provide superior strength compared to simple butt joints. Examine how craftsmen attach backs and bottoms, as proper techniques here prevent warping and ensure longevity.
- Inspect wood selection for consistent grain patterns and minimal defects
- Verify all joints are tight-fitting before glue application
- Confirm drawer boxes use solid wood construction, not particleboard
- Check that all surfaces are sanded progressively to 220 grit minimum
- Ensure hardware installation uses proper pilot holes to prevent splitting
Pro Tip: Ask to visit the workshop during construction to see your piece taking shape. Most artisans welcome client visits and appreciate the opportunity to explain their techniques.
Common challenges during craftsmanship include wood defects discovered during milling, hardware availability delays, and design adjustments needed when theory meets reality. Experienced craftsmen anticipate these issues, ordering extra material and maintaining relationships with reliable suppliers. They also communicate proactively when problems arise, proposing solutions rather than simply reporting delays.
The construction phase typically requires six to ten weeks for complex entryway furniture with multiple storage components. Simpler pieces may take four to six weeks. This timeline accounts for proper glue curing between assembly stages, as rushing this process compromises structural integrity. Trust that time invested in proper construction pays dividends in furniture that serves your family for generations.
Quality craftsmanship cannot be rushed. Each stage builds upon the previous one, and shortcuts taken today become problems tomorrow. Patience during construction ensures furniture that exceeds expectations and withstands decades of daily use.
Finishing touches and installation: curing and quality assurance
Finishing transforms raw wood into protected, beautiful furniture ready for daily use. The finishing stage requires controlled curing to achieve maximum durability and appearance quality.
Finish selection balances aesthetics with protection. Oil finishes penetrate wood fibers, enhancing natural grain while providing moderate protection against moisture and scratches. They require periodic reapplication but make repairs simple. Lacquer finishes create a harder surface film, offering superior protection for high-traffic areas. They resist water and scratches better than oil but show damage more obviously when it occurs. Conversion varnish provides the ultimate protection, creating an incredibly durable finish ideal for families with young children.
- Surface preparation begins with final sanding, progressing through grits to achieve perfectly smooth wood that accepts finish evenly.
- Stain application, if desired, colors the wood while allowing grain patterns to show through naturally.
- Sealer coats seal wood pores and provide a foundation for topcoats to adhere properly.
- Multiple topcoat applications build finish thickness, with light sanding between coats ensuring smooth results.
- Final curing in a controlled environment allows finish to harden completely before handling or installation.
Curing time varies by finish type and environmental conditions. Oil finishes may cure in three to five days, while catalyzed lacquers need seven to ten days for complete hardening. Rushing this stage produces finishes that remain soft, attracting dust and showing fingerprints. Temperature and humidity control during curing prevents finish defects like blushing or orange peel texture.
Pro Tip: Schedule installation at least two weeks after finish application to ensure complete curing. This prevents accidental damage during transport and allows any finish odors to dissipate completely.
Installation requires careful planning and execution. Professional installers protect your floors with heavy blankets, measure twice before drilling anchor holes, and level furniture precisely to ensure doors and drawers operate smoothly. They also verify that wall anchors hit studs for secure mounting, critical for tall entryway pieces that could tip if improperly secured.
Post-installation quality verification ensures everything meets your expectations:
- All drawers open and close smoothly without binding or gaps
- Doors align properly with consistent reveals around all edges
- Hardware operates smoothly with no loose screws or misaligned catches
- Finish appears uniform without drips, sags, or thin spots
- Furniture sits level without rocking or gaps against walls
- All agreed-upon features from the design phase are present and functional
Document any concerns immediately and communicate them to your craftsman. Reputable makers stand behind their work and address issues promptly. Most provide care instructions explaining how to clean and maintain your new furniture, ensuring it remains beautiful for decades. Understanding the complete bespoke furniture workflow helps you appreciate the care invested in your custom piece.
Why choose Furniture Design Group for your bespoke entryway furniture?
Navigating the bespoke furniture workflow becomes effortless when you partner with experienced craftsmen who prioritize communication and quality. Furniture Design Group brings over 20 years of custom furniture expertise to Maryland homeowners and interior designers seeking exceptional entryway solutions.
Our family-owned workshop specializes in mud lockers and entryway furniture built to withstand your family’s daily demands. We guide you through every workflow stage, from initial consultation through final installation, ensuring your vision becomes reality. Our collaborative process welcomes your input while leveraging our craftsmanship expertise to suggest improvements you might not have considered.
Maryland’s climate demands proper material preparation and finishing techniques. We acclimate all lumber in our climate-controlled workshop and apply finishes designed for our region’s humidity variations. Visit our showroom to see completed projects and discuss your needs in person, or manage your project online through convenient account management at Furniture Design Group. Experience the difference that genuine craftsmanship and attentive service make in creating furniture your family will treasure for generations.
Frequently asked questions
What is the typical timeline for a bespoke furniture commission?
Bespoke furniture projects span 3 to 6 months from initial consultation to installation, with variations based on design complexity and material availability. Simple pieces with standard dimensions may complete faster, while elaborate designs with custom hardware or specialty woods take longer. Factor in holiday periods and workshop scheduling when planning your timeline.
How can I ensure the wood used will withstand Maryland’s climate?
Material acclimatization prevents climate damage by allowing wood to adjust to local humidity before construction. Discuss Maryland’s specific climate challenges with your craftsman, mentioning your home’s humidity levels and proximity to water. Quality makers store lumber in their workshop for weeks before milling, ensuring stability. Request information about their acclimatization process and choose wood species known for dimensional stability in variable climates.
What factors influence the cost of bespoke furniture?
Material quality, design complexity, and construction time drive costs significantly. Exotic hardwoods cost more than domestic species, while intricate carvings or specialized joinery increase labor hours. Hardware choices, finish types, and project size also impact pricing. Consult with your designer early to align expectations, discussing budget parameters during the initial brief. Transparent communication about costs prevents surprises and helps craftsmen suggest alternatives that achieve your vision within budget constraints.
How involved should I be during the design and build phases?
Active participation during the brief and design phases ensures the final piece matches your vision perfectly. Respond promptly to design presentations and provide specific feedback about what works and what concerns you. During construction, trust your craftsman’s expertise while remaining available for questions. Most artisans welcome occasional workshop visits and appreciate clients who show genuine interest in the process. Balance involvement with respect for professional expertise, recognizing that experienced makers often suggest improvements based on decades of experience.