Streamline Your Entryway Redesign: A Workflow for Maryland Homes
TL;DR:
- Your entryway sets the first impression and must balance aesthetics with practicality, especially in Maryland’s climate. Proper planning involves precise measurements, understanding local permit rules, and selecting durable materials tailored to seasonal conditions. Following a structured workflow from clearance clearing to layered finishing ensures a functional, stylish space that resists common pitfalls and fits your household needs perfectly.
Your entryway is the first thing your family touches when they walk through the door after a long day, and the first thing guests notice. When it’s working against you, coats pile on the floor, shoes scatter in every direction, and the whole space feels like a bottleneck before you’ve even made it to the kitchen. For Maryland homeowners, the challenge runs a little deeper than aesthetics. Local climate swings, older home layouts, and jurisdiction-specific permit rules add layers that generic redesign guides simply don’t address. This workflow cuts through the noise and gives you a practical, step-by-step path to an entryway that looks great and actually handles daily life.
Table of Contents
- What to plan before your entryway overhaul
- Step-by-step entryway redesign workflow
- Avoiding common pitfalls and edge-case challenges
- Layering lighting, mirrors, and finishing touches
- What most entryway guides miss about Maryland homes
- Redesign your entryway with Maryland’s custom furniture experts
- Frequently asked questions
Key Takeaways
| Point | Details |
|---|---|
| Workflow comes first | Start by clearing, measuring, and mapping movement before adding decor. |
| Custom storage wins | Benches, hooks, and cubbies sized for daily life will cut clutter and look seamless. |
| Permits may be needed | Maryland homeowners should check local requirements for any entry structural changes. |
| Aesthetic layering matters | Lighting and mirrors should come after function and layout are dialed in. |
What to plan before your entryway overhaul
With the challenges clear, start by laying the foundations for a successful project. Jumping straight into buying furniture or painting walls is the fastest way to waste money and time. Planning properly means you measure first, check local rules, and know exactly what professionals you may need before anything else changes.
Key measurements to capture:
- Door swing radius (measure with the door fully open against the wall)
- Hallway width at the narrowest point, including any baseboards or trim
- Ceiling height, especially if you’re considering tall storage units or overhead hooks
- Distance from door threshold to the nearest wall, closet, or staircase
- Window placement and any natural light sources that affect mirror and lighting choices
Foyer redesigns commonly fail when door swing clearance and measurements are not captured before furniture is purchased. That console table you love may look perfect in photos but physically block the door from opening past 45 degrees. Every measurement matters before you spend a single dollar.
Permits are another area where Maryland homeowners regularly get surprised. Some Maryland jurisdictions treat enlarging an existing door or window opening as requiring a building permit, while replacing within the same size may be exempt. The rules vary by county, so checking early protects you from costly reversals later.
The Maryland-specific best practice is to identify permit requirements early, work with professionals who know the local process, and schedule any required inspections in advance to avoid project bottlenecks. This isn’t just bureaucratic caution. It’s practical project management.
Entryway redesign preparation checklist:
| Preparation step | What to capture | Who handles it |
|---|---|---|
| Door clearance measurement | Swing radius, threshold width | Homeowner or designer |
| Ceiling and wall dimensions | Height, width, depth of niche | Homeowner or contractor |
| Permit check | Local jurisdiction requirements | Homeowner + building dept |
| Material selection | Wood species, finish, hardware | Designer or custom builder |
| Professional coordination | Electrician, carpenter, installer | General contractor |
| Utility location | Outlets, light switches, HVAC vents | Licensed electrician |
Pro Tip: Call your local building department before you buy any materials or schedule any work. A five-minute conversation can save weeks of setbacks and hundreds of dollars in returns or rework.
Before you close out this planning phase, consider following an eco-friendly cleanout workflow to responsibly remove old furniture, bags of shoes, and worn-out storage pieces. Donating and recycling what you clear out keeps the project clean from the very start.
Step-by-step entryway redesign workflow
With your measurements, permits, and preparations ready, it’s time to execute the redesign in the right sequence. Skipping steps or layering aesthetics before function is locked down is the most common mistake homeowners make.
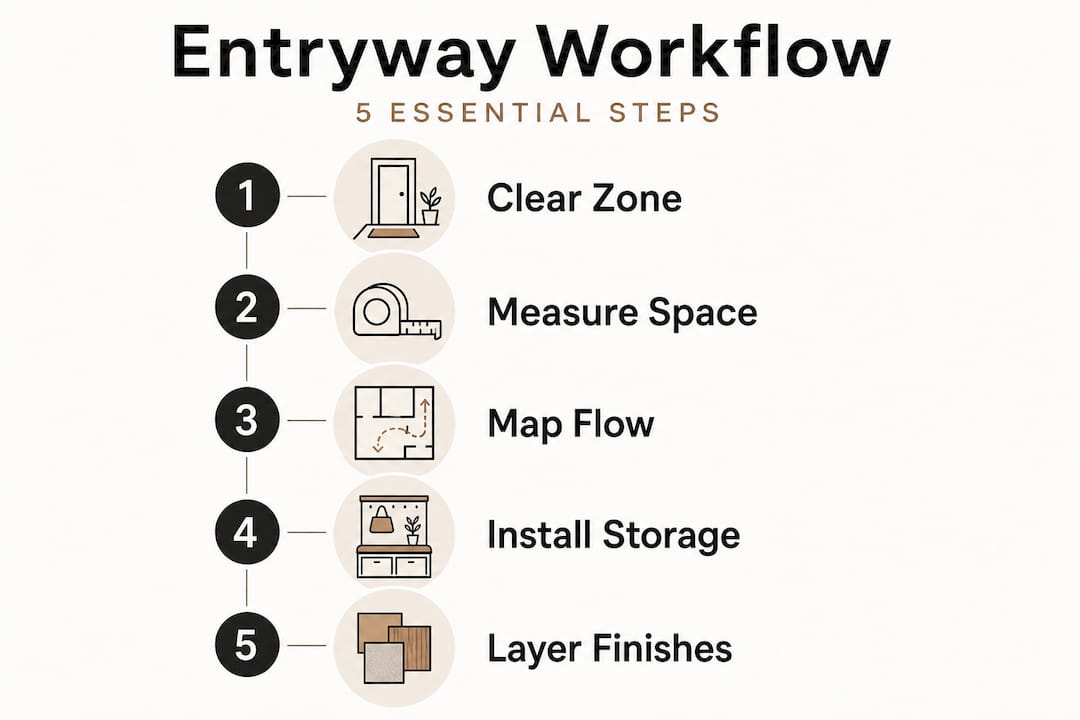
The six-step workflow:
- Clear the active drop zone. Remove every item currently living in the entry. Bags, shoes, mail, coats, umbrellas. Start completely fresh so you can see the actual space you’re working with.
- Map movement and traffic flow. Open the front door fully and walk through it with a bag over your shoulder. Note where your natural path goes, where your hands want to reach, and where obstacles appear. Do this with another person if your household is larger.
- Measure key clearances. Confirm all your pre-planning measurements again with the space empty. Doorways sometimes measure differently without furniture crowding the sightlines.
- Install storage. This is where your custom furniture workflow comes in. Place benches, cubbies, hooks, and baskets based on what the traffic map revealed. Storage comes before any decorative elements.
- Add mirrors, rugs, and lighting. A well-placed mirror doubles perceived light and makes narrow entries feel wider. Layer your lighting before settling on final mirror placement.
- Personalize with decor. One or two intentional pieces. A small plant, a framed piece, a seasonal wreath. Keep surfaces minimal.
The best-practice sequence is to clear the active drop zone, map traffic flow with the door fully open and real bags moving through the space, add storage matched to daily habits like hooks, baskets, and trays, and then layer the mirror, rug, and lighting only after functionality is stable.
Custom built-ins and mudroom-style entry benches create a dedicated, durable drop zone in Maryland homes that stock furniture simply cannot replicate. Built-ins follow the exact geometry of your space rather than forcing your space to adapt to them.
Custom built-in vs. stock furniture comparison:
| Feature | Stock bench or shelf | Custom built-in |
|---|---|---|
| Fit to your space | Approximate | Exact |
| Durability | Variable (often 3-7 years) | 20+ years with proper materials |
| Storage volume | Fixed | Designed to your household demand |
| Resale value impact | Minimal | Positive |
| Aesthetic integration | Standalone look | Seamless, built-in look |
| Hook and cubby count | Standard (usually 4-6) | As many as your family needs |
Pro Tip: Before committing to furniture placement, use painter’s tape on the floor to outline furniture footprints while the door swings open and closed. Live with those outlines for a day before purchasing anything.
Avoiding common pitfalls and edge-case challenges
Now that you’ve layered function and furnishing, it’s critical to avoid the mistakes that undermine great entryway designs. Even well-planned projects can stumble in the final stretch when small oversights compound.
Most common entryway design fails:
- Placing a rug that bunches or lifts under the door sweep, creating a trip hazard
- Installing hooks at a single height when households include both adults and children
- Choosing open shelving without accounting for the visual mess of everyday items
- Undersizing shoe storage for the realistic number of pairs used daily
- Ignoring outlet placement when planning for charging stations or lighting fixtures
- Selecting furniture that blocks natural light from sidelights or transom windows
- Skipping permit checks for structural changes that get flagged during a future home sale
“Always account for your door’s full swing and expect daily wear and tear. An entryway that works on day one but fails under real household use by month three is not a solution. It’s a delay.”
Measuring the swing radius of your front door before buying furniture or rugs is essential. Blocking the entry or trapping items under the door sweep is one of the most common and frustrating failures homeowners report after entryway projects.
Storage sizing deserves its own honest moment. Entryway systems should be sized for realistic household demand, not ideal conditions. That means counting the actual number of coats your family uses in winter, the real number of shoe pairs rotated each week, and the bags or backpacks coming in every afternoon after school.
Pro Tip: Before finalizing your storage plan, count every coat, bag, and pair of shoes that currently lives near your front door. Double it for seasonal overflow. That number is your minimum hook and cubby count, not a nice-to-have.
Smart entryway storage ideas can also help you think through how other household categories, like cleaning supplies and seasonal gear, might need to live near the entry in Maryland homes where muddy weather is a constant reality.
Explore custom furniture services when off-the-shelf storage simply cannot solve the geometry or volume challenges your specific entry presents.
Layering lighting, mirrors, and finishing touches
Once the foundational elements are right, add layers that bring light, style, and visual clarity. The order in which you add these finishing elements matters more than most guides acknowledge.
The right order for adding aesthetic elements:
- First: Lighting. Overhead fixtures establish overall brightness. Sconces or plug-in lights add warmth and fill shadows that overhead lighting creates. Layered lighting, meaning a combination of overhead and accent sources, makes an entry feel welcoming rather than flat.
- Second: Mirrors. Place mirrors after lighting is installed so you can see exactly how light bounces. A mirror opposite a window amplifies natural light. A mirror beside a narrow wall makes the space read as wider.
- Third: One primary surface for decor. A console top, a bench seat, or a small wall-mounted shelf. Choose one. More than one decorative surface creates competing focal points and visual noise.
Lighting, mirrors, and storage must be coordinated or the entry can feel cluttered or cramped. Calm, controlled surfaces are central to making an entryway feel intentional rather than improvised. When every surface has a purpose and nothing competes for attention, the space naturally feels larger and more welcoming.
Thoughtful lighting design for entryways goes beyond choosing a fixture style. The angle of the light, the warmth of the bulb temperature, and the combination of layers all contribute to whether your entry feels polished or flat. Warm white bulbs in the 2700K to 3000K range consistently create a more welcoming feel than the cool tones common in utility spaces.

Pro Tip: Use layered lighting in your entryway, a ceiling fixture for general brightness paired with a wall sconce or plug-in accent at eye level. This combination eliminates the harsh shadows that single overhead lights cast on faces and furnishings.
Mirror scale is another detail guides often skip. A mirror that is too small for the wall feels like an afterthought. A mirror that is too wide competes with storage and makes the space feel like a bathroom. Aim for a mirror that is roughly two-thirds the width of the furniture piece below it. That proportion grounds the mirror visually and ties the wall together.
What most entryway guides miss about Maryland homes
Most online entryway guides were written for a generic American homeowner in a climate-controlled suburb with plenty of square footage and no real permit concerns. Maryland is not that place.
Maryland homeowners deal with genuine temperature swings, wet winters, humid summers, and the kind of daily mud and moisture that ruins cheap materials inside a single season. A bench with a veneer top or hooks rated for light duty will not survive a Maryland winter with a family of four coming in from soccer practice or a coastal storm. The materials have to be right, not just the style.
The permit reality is also something most guides gloss over entirely. If you’re working in Baltimore County, Montgomery County, or Anne Arundel County, the rules around what triggers a permit requirement differ in meaningful ways. Getting this wrong during a project is inconvenient. Getting it flagged during a home sale is expensive.
We’ve spent over 20 years working with Maryland homeowners, and the pattern we see repeatedly is this: homeowners who prioritize aesthetics first end up doing their entryway twice. They buy a beautiful bench that blocks the door, install hooks in the wrong location for how traffic actually moves, and choose a rug that gets trapped under the door sweep every single morning. The frustration compounds until they’re ready to start over.
Workflow-first is not a constraint on creativity. It’s the foundation that makes creativity last. Once you know your door clearance, your storage volume, and your traffic pattern, customizing entry furnishings becomes a precise and genuinely exciting process rather than a guessing game.
The homeowners who end up with entryways they love are the ones who planned deeply and then invested in quality pieces built for their exact space. Custom isn’t a luxury in a Maryland entryway. It’s the practical choice.
Redesign your entryway with Maryland’s custom furniture experts
If you want entryway solutions that truly fit your Maryland lifestyle, here’s how to get started. The workflow in this guide gives you the foundation, but the finishing piece is working with craftspeople who understand how to turn your measurements and needs into furniture that genuinely fits your home.

At Furniture Design Group, we’ve been building custom entryway pieces for Maryland homeowners for over 20 years. From mud lockers and built-in benches to custom hook systems and storage cubbies, every piece is crafted to your exact specifications and built to last through Maryland’s demanding seasons. Browse our custom furniture services to see what’s possible, or explore our creating custom furniture process to understand how we bring each project from first measurement to finished installation. Contact us to schedule a consultation and start designing the entryway your home deserves.
Frequently asked questions
Do I need a permit to change my Maryland entryway door?
If you enlarge the opening, a permit is likely required; simple replacements in the same size may not need one, but requirements vary by county so always confirm with your local building department first.
How do I stop clutter from piling up in my entryway?
Size your storage for your real household needs, and use built-in benches, hooks, and cubbies to give every daily item a dedicated place so clutter has nowhere to accumulate.
What’s the ideal sequence for entryway updates?
Start with clearing and measuring, plan traffic flow, install storage, and then layer aesthetics with lighting, mirrors, and final decor only after functionality is fully stable.
How important are measurements in entryway redesign?
Measuring door swing, hallway width, and ceiling height is critical because foyer redesigns commonly fail when door swing clearance is not captured before furniture or rugs are purchased.