What Is Furniture Finishing: a DIY Guide
TL;DR:
- Furniture finishing involves applying protective coatings to wood to prevent moisture, scratches, and fading while enhancing its appearance. Proper prep, patience during curing, and choosing the right finish category ensure a long-lasting, professional-looking result. Skimping on steps or rushing the process often leads to disappointing outcomes and reduced furniture lifespan.
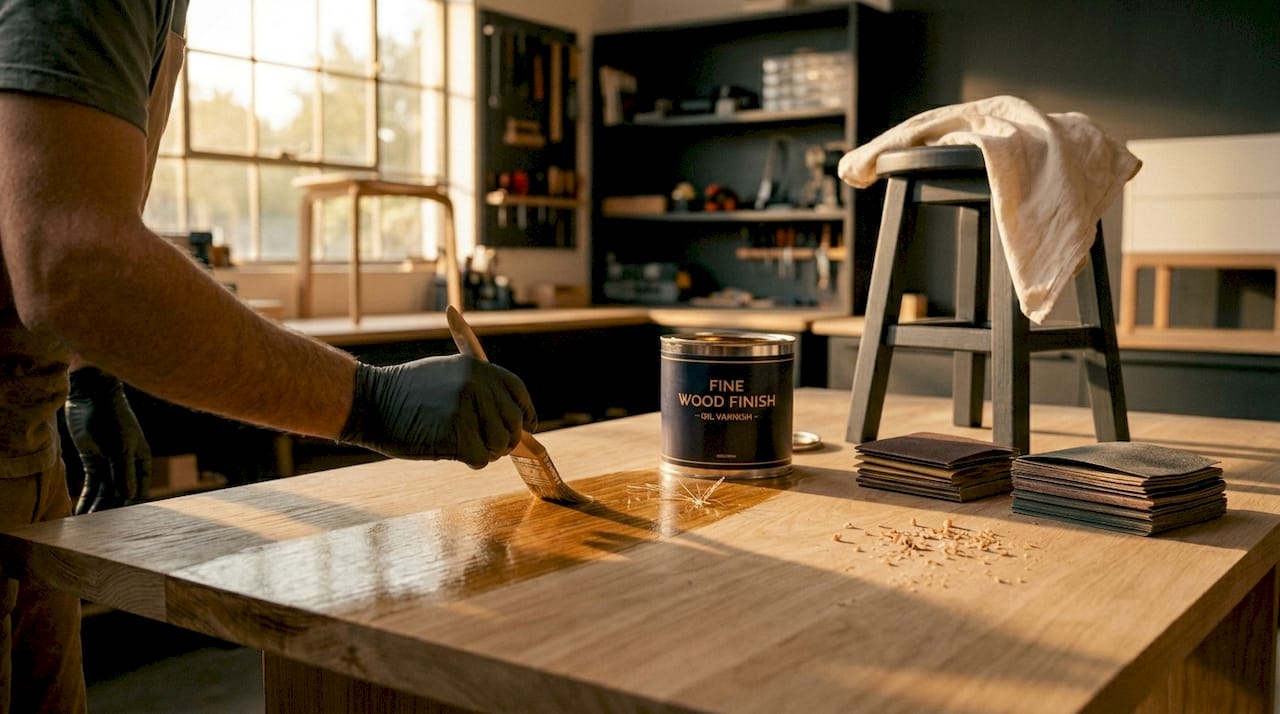
Most people think finishing wood furniture is optional. It isn’t. What is furniture finishing, exactly? It’s the process of applying protective and decorative coatings to raw or bare wood to shield it from moisture, heat, and everyday wear while making it look its best. Without a proper finish, even the most beautiful piece of solid oak or walnut will absorb spills, crack with humidity, and fade under UV light. This guide breaks down the types of finishes, the full process from sanding to curing, and the practical tips that separate amateur results from professional ones.
Table of Contents
- Key takeaways
- What furniture finishing really is
- Furniture finishing techniques and finish types
- The furniture finishing process, step by step
- Practical considerations: timelines, costs, and maintenance
- My honest take on finishing after years of seeing it done wrong
- When professional finishing makes sense
- FAQ
Key takeaways
| Point | Details |
|---|---|
| Finishing protects and beautifies | A proper finish guards wood from moisture, scratches, and fading while enhancing its natural grain. |
| Two finish categories exist | Penetrating finishes soak into wood; film-forming finishes build a protective layer on top. |
| Prep work determines quality | Thorough sanding and dust removal before any coat is applied decides whether the finish succeeds or fails. |
| Stain is not a finish | Stain only adds color. A protective topcoat must always follow stain or the wood stays vulnerable. |
| Patience with curing pays off | Full cure can take up to 7 days, and rushing it causes scratches, water rings, and finish failure. |
What furniture finishing really is
Furniture finishing is not just the last step you rush through after the hard woodworking is done. It is a critical protective process that determines how long a piece lasts, how it handles daily use, and how it looks a decade from now.
At its core, what is finishing in woodworking comes down to applying one or more coats of a finish product to raw wood. That product either soaks into the wood fibers or forms a hard film on the surface. Both approaches have distinct purposes, and knowing the difference is half the battle.
The importance of furniture finishing becomes obvious the moment you think about what untreated wood faces every day:
- Moisture absorption: Bare wood swells and warps with humidity changes, leading to cracked joints and warped panels.
- Surface scratches: Without a hard topcoat, daily contact with keys, cups, and bags leaves permanent marks.
- UV fading: Direct and indirect sunlight bleaches wood color over months, especially on pieces near windows.
- Heat damage: Hot mugs or plates placed directly on unfinished wood leave gray or white burn marks almost instantly.
- Dirt and staining: Unfinished wood is porous, so oils from hands and food penetrate the fibers permanently.
A good finish blocks or significantly reduces all of these threats. Beyond protection, finishing dramatically extends furniture lifespan by sealing pores, adding hardness, and making the surface far easier to clean.
There are two broad categories of finishes. Penetrating finishes (oils and waxes) soak below the surface and harden within the wood fibers, giving a natural, hand-rubbed look with no surface buildup. Film-forming finishes (polyurethane, varnish, lacquer, shellac) sit on top of the wood and cure into a hard, clear layer. Each category has its place depending on how the furniture will be used.
Furniture finishing techniques and finish types
Understanding your options before you buy a single can of finish saves you money, time, and frustration. The right choice depends on the wood species, the piece’s function, and the look you’re going for.
Penetrating finishes: oils and waxes
Danish oil, tung oil, and linseed oil are classic penetrating finishes. They bring out the natural warmth of wood without adding a glossy film. Wax (like paste wax or carnauba wax) is often applied over an oil or as a standalone finish on decorative pieces. The tradeoff: these finishes offer minimal protection against water and heat and need periodic reapplication. Penetrating finishes are best for decorative pieces and low-traffic furniture where aesthetics matter more than durability.
Film-forming finishes: polyurethane, varnish, lacquer, shellac
These are the workhorses of the furniture finishing world. Polyurethane is the most commonly used finish for DIYers because it’s durable, widely available, and comes in water-based and oil-based formulas. Varnish (including spar varnish for outdoor use) is extremely tough. Lacquer dries fast and sands beautifully but requires proper ventilation. Shellac is a natural resin that excels as a sealer coat under other finishes and works well on antiques.
Pro Tip: When choosing between water-based and oil-based polyurethane, keep in mind that oil-based versions amber slightly over time, adding warmth to lighter woods, while water-based formulas stay clear. For white oak or maple, water-based is almost always the better call.
Here’s a quick comparison to help you decide:
| Finish type | Durability | Appearance | Ease of application | Best use |
|---|---|---|---|---|
| Danish/tung oil | Low | Natural, matte | Easy | Decorative, low-traffic |
| Paste wax | Very low | Satin, soft sheen | Easy | Antiques, hand-rubbed pieces |
| Shellac | Medium | Warm, amber tint | Moderate | Sealer coat, antiques |
| Lacquer | High | Glossy to satin | Difficult (spray) | Fine furniture, fast projects |
| Water-based polyurethane | High | Clear, minimal sheen change | Moderate | Kitchen tables, high-traffic |
| Oil-based polyurethane | Very high | Warm amber glow | Moderate | Floors, heavy-use surfaces |
| Varnish | Very high | Clear to satin | Moderate | Outdoor and marine furniture |
One detail many DIYers overlook: different woods absorb finishes at different rates, and open-grain species like oak or ash may need a grain filler or sealer coat first. Close-grain woods like maple or cherry accept finish more evenly right from the start.
The furniture finishing process, step by step
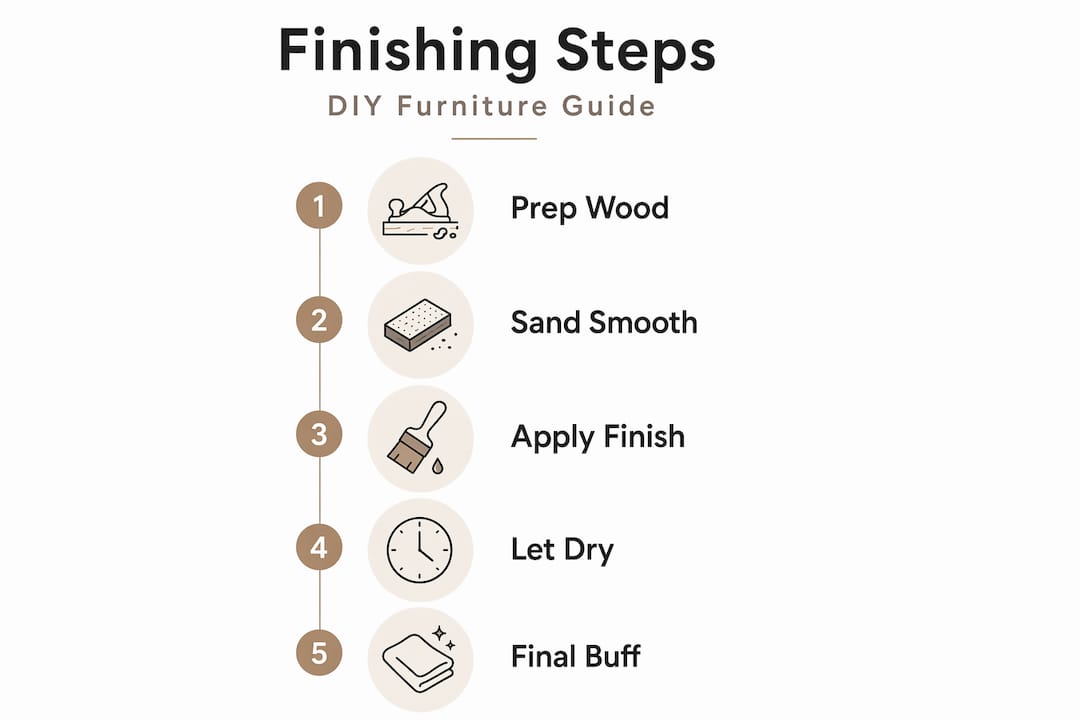
Getting professional results at home isn’t about expensive equipment. It’s about following the right sequence and not skipping steps. Here is the process that professional woodworkers and finishing craftsmen use consistently:
- Sand with progressively finer grits. Start at 80 or 100 grit if the wood is rough, then work through 150 and 180 grit. Always sand with the grain, never against it. Cross-grain scratches telegraph through even multiple coats of finish.
- Remove all dust. Use a vacuum, then wipe down with a tack cloth. Improper dust removal leads to nibs and poor adhesion. This step takes five minutes and prevents hours of rework.
- Apply stain if desired. Stain is a colorant only. It changes the color of the wood but offers zero protection. A topcoat must always follow stain or the wood remains completely unprotected. Let stain dry fully before moving on.
- Apply a sealer coat. This first thin coat locks in stain, seals wood pores, and creates a base for subsequent coats. Shellac diluted to a 1-pound cut works on nearly any wood species.
- Sand lightly between coats with 220 grit. This step is what most beginners skip, and it’s the reason their finish looks rough or orange-peel textured. Skipping sanding between coats creates an amateur finish that no amount of final buffing will fix.
- Apply two to three topcoats. Thin coats are always better than thick ones. Each coat should be barely visible going on. Multiple thin coats cure faster and bond more reliably than a single heavy application.
- Allow full curing time. The surface may feel dry to the touch in hours, but full cure can take up to 7 days. Placing objects on the surface before full cure almost guarantees impressions, water rings, or scratches that bond to the finish.
“The biggest mistake in furniture finishing isn’t a bad brush or cheap product. It’s impatience. Every step that gets rushed shows up in the final piece.”
Pro Tip: For a glass-smooth final surface, try wet sanding the final coat with 1000 to 1500 grit wet/dry paper. This fills microscopic pores and levels the finish in a way dry sanding simply cannot achieve. Follow it with a polishing compound for a mirror-like result.
Practical considerations: timelines, costs, and maintenance
Knowing how to finish furniture is one thing. Knowing how long it takes and what it costs helps you plan realistically.
A typical DIY finishing project runs 5 to 11 days from start to full cure, factoring in dry time between coats and the full curing period before the piece goes into use. Materials for a standard project run between $50 and $150 depending on project size and the quality of finishes and sandpaper you buy.
Tools you’ll need: quality natural-bristle or foam brushes (one for each finish type), sanding blocks, tack cloths, a well-ventilated workspace, and nitrile gloves. If you’re spraying lacquer, add a respirator to that list.
Maintenance after finishing is just as important as the application itself:
- Do use coasters and felt pads under objects placed on finished surfaces.
- Do clean spills immediately with a slightly damp cloth.
- Do apply a paste wax coat annually over oil-based polyurethane to maintain sheen.
- Don’t use ammonia-based cleaners or all-purpose sprays on finished wood. They break down the finish over time.
- Don’t place hot items directly on the surface, even on a fully cured finish.
When you notice the finish looking dull, dry, or showing areas where it has worn through, it is time for the furniture refinishing process. Light scuffing with 220 grit and a fresh topcoat often revives a piece without stripping it entirely.
My honest take on finishing after years of seeing it done wrong
I’ve watched a lot of homeowners spend good money on quality wood and then rush the finish because they’re excited to put the piece in their home. The result almost always disappoints them within a year.
Here’s what I’ve learned: preparation takes longer than people expect, and it matters more than any product choice you make. You could use the most expensive polyurethane on the market, but if you skip dust removal or sand with the grain inconsistently, the finish will show every flaw underneath.
The other thing I’d push back on is the idea that more coats equal better protection. Thin, even coats consistently outperform thick ones. Thick coats run, take far longer to cure, and often look plasticky rather than refined. Think of the finish as clothing for the wood, not armor. A well-tailored coat beats a thick, ill-fitting one every time.
My practical advice: choose your finish based on how the furniture will actually be used, not how you want it to look. A beautiful oil finish on a mudroom bench is a maintenance nightmare. A satin water-based polyurethane on that same bench will still look great in five years with almost no upkeep.
— Donovan
When professional finishing makes sense

There is real satisfaction in finishing a piece yourself, and this guide gives you what you need to do it well. But some projects call for a professional’s touch. Large pieces, complex custom finishes, or tight timelines are situations where expert hands make the difference between a piece you love and one you settle for.
Furnituredesigngroup has spent over 20 years building and finishing custom furniture for Maryland homeowners who want results that last. If you have a high-use piece, a family heirloom in need of refinishing, or a custom project with a specific finish in mind, explore the custom furniture services that Furnituredesigngroup offers. You can also browse the finished project gallery to see the level of craftsmanship that professional finishing produces.
FAQ
What is furniture finishing in simple terms?
Furniture finishing is the process of applying protective and decorative coatings to wood to guard it against moisture, scratches, and wear while enhancing its appearance. It is the final and one of the most important steps in any woodworking or furniture project.
What’s the difference between staining and finishing?
Stain is a colorant that changes the wood’s color but provides no protection on its own. A finish (such as polyurethane or varnish) is the protective topcoat that seals and shields the wood. You always need both if you want color and durability.
How long does furniture finishing take?
A complete DIY finishing project typically takes 5 to 11 days from the first sanding to full cure. Surface dry time between coats is several hours, but full cure for most film-forming finishes takes up to 7 days before the piece can handle normal use.
What is the best finish for high-traffic wood furniture?
Oil-based or water-based polyurethane is widely considered the best finish for wood furniture that sees daily use. It offers strong resistance to moisture, heat, and surface abrasion. Water-based versions dry faster and stay clear; oil-based versions add a warm amber tone and are slightly more durable.
Can I apply a new finish without stripping the old one?
In many cases, yes. If the existing finish is intact and not peeling, lightly scuff it with 220 grit sandpaper, clean the surface thoroughly, and apply a compatible new topcoat. If the finish is cracked, peeling, or heavily worn, stripping to bare wood gives better results.